
If you already rent small VPS servers abroad for 5 to 10 dollars a month, you are not alone. It is often the simplest way to test an idea, run a project, or deploy a service.
There is just one issue.
Most of those servers live in foreign datacenters, on foreign platforms, under foreign laws. Your data may not benefit from the privacy and jurisdiction you expect in Canada.
What if you could keep the same simplicity, the same speed, and the same flexibility, but do it on a Canadian sovereign cloud?
This guide will help you deploy your first app on Patrii Cloud in under 30 minutes. You will learn how to:
- Create your Patrii Cloud account
- Complete your billing profile
- Upload your SSH key
- Request quota
- Launch your first VPS
- Configure a secure perimeter with security groups
- Deploy a simple website or API
- Add storage and snapshots
- Discover what else you can build
If you have ever used SSH before, you will feel right at home.
Your data. Your cloud. Your country.
Let us begin.
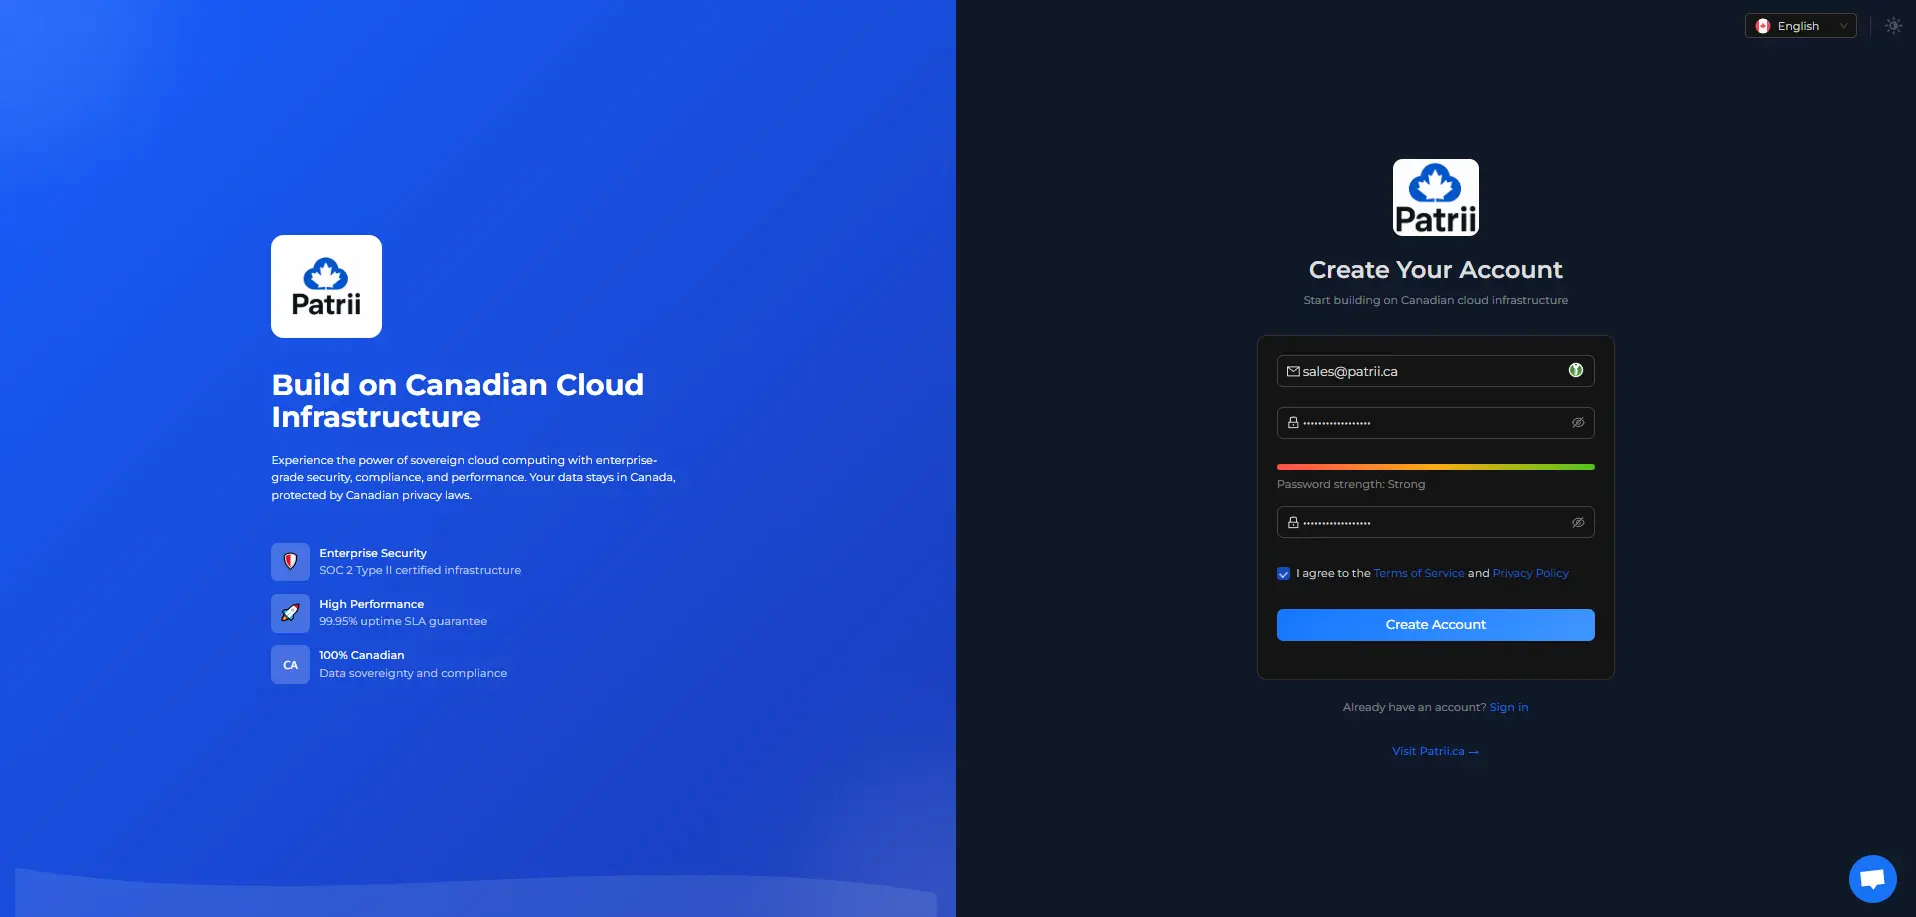
Step 1 – Create Your Patrii Cloud Account
Start here: https://console.patrii.cloud
Sign up and log in to your project dashboard.
Patrii Cloud is currently in open alpha. You can expect:
- Stable core features like VPS, networking, block storage and snapshots
- Weekly improvements and full transparency
- Early access to a sovereign cloud built in Canada
- Direct access to our team. All users receive standard support for free during alpha
Before launching a VPS, you must complete your billing profile and add your SSH key.
Step 2 – Complete Your Billing Profile
A billing profile must be completed before deploying any resources.
In the console:
Account → Billing → Billing Profile → Edit
Add:
- Your name or business information
- Your address
- Your billing email
Save your profile.
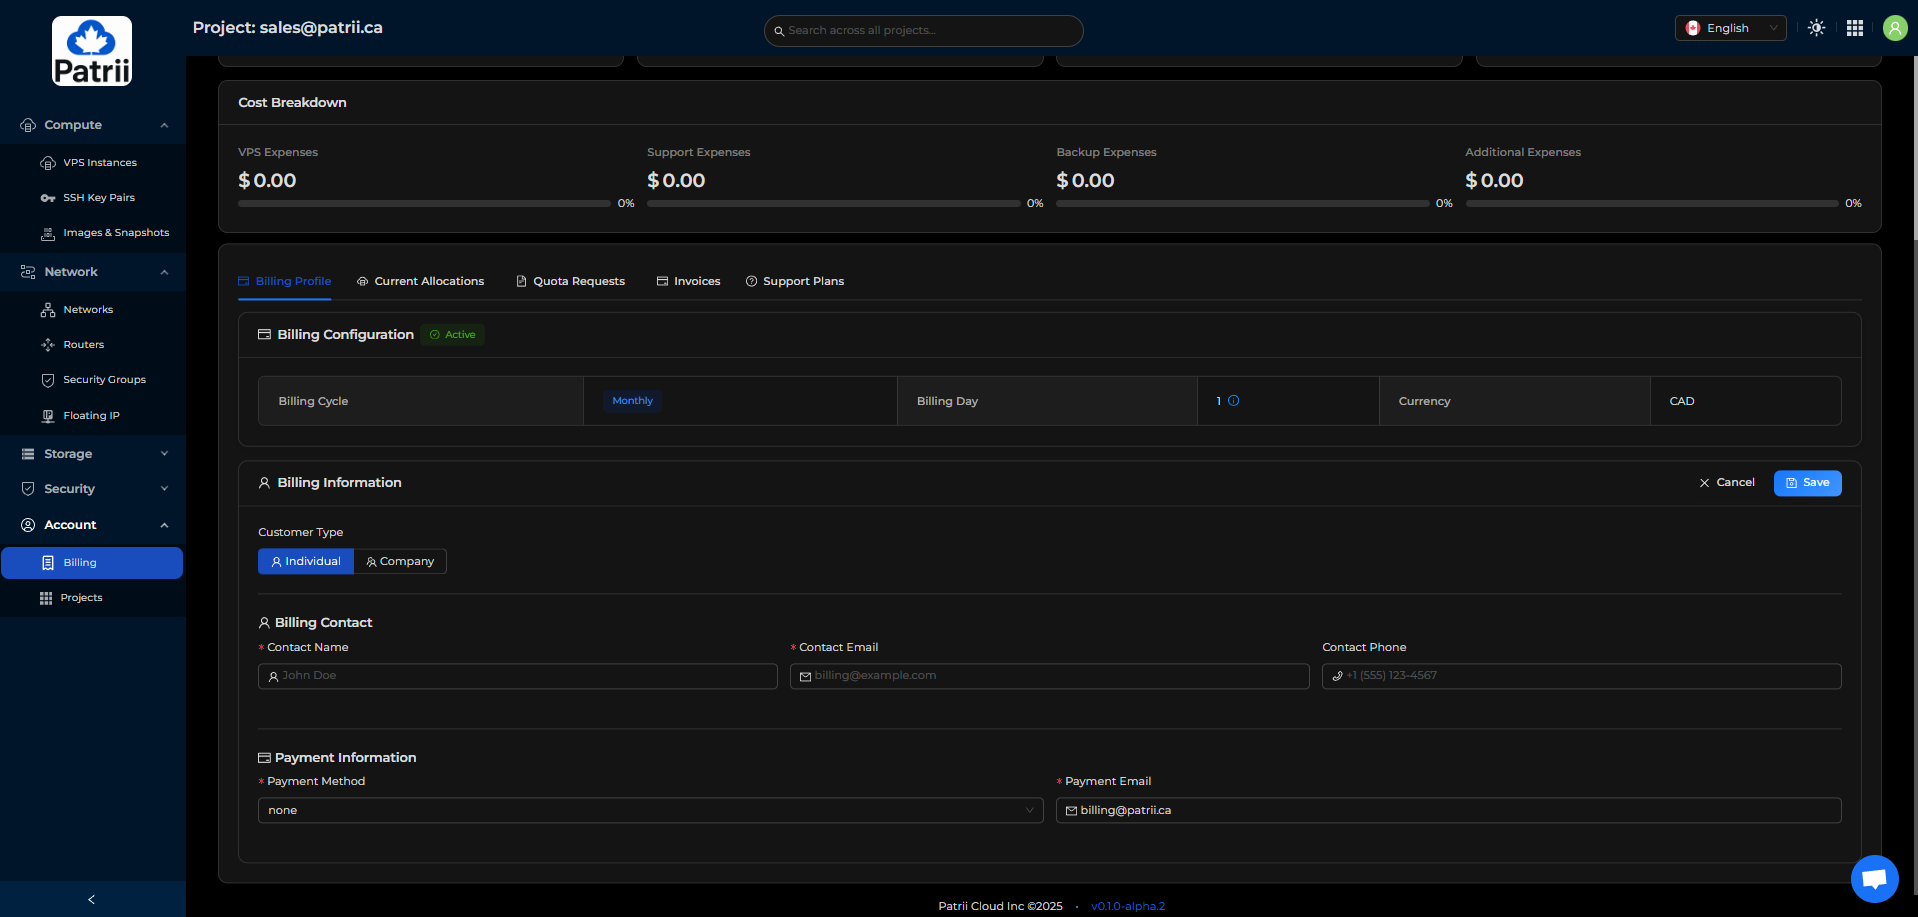
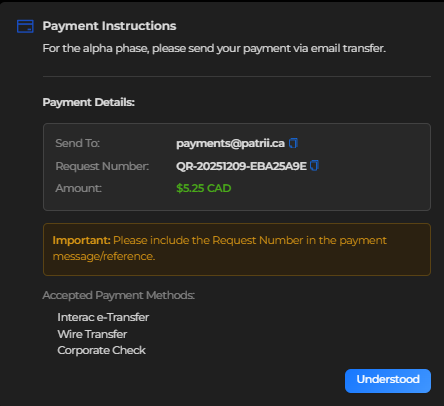
No credit card is required during alpha. Payments can be made by e-transfer. If you prefer Stripe, reach out through the support widget.
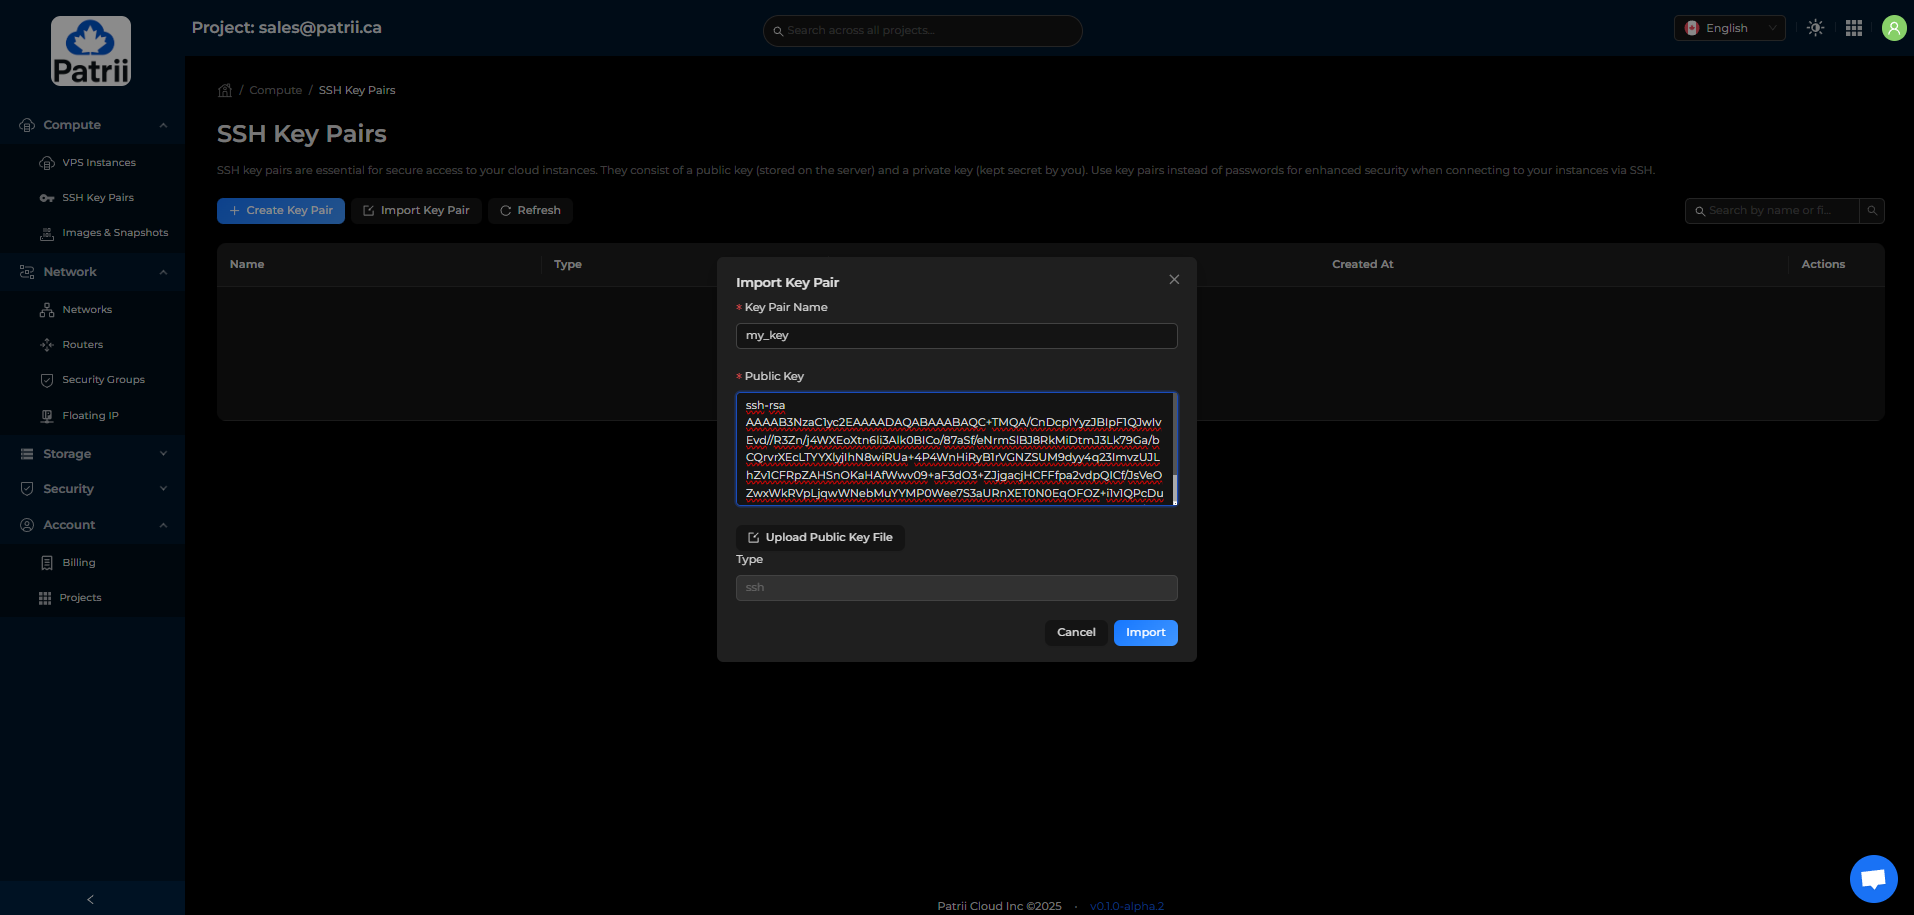
Step 3 – Upload Your SSH Key
Patrii Cloud requires at least one SSH key before creating a VPS.
To generate a key locally:
ssh-keygen -t rsa -b 4096 -C "your.email@example.com"
Your public key is found with:
cat ~/.ssh/id_rsa.pub
Copy the entire line.
In the console:
Compute → SSH Key Pairs → Import Key Pair
Name your key and paste the content.
Import it.
Step 4 – Request Your Quota
Patrii Cloud uses prepaid quota during alpha so you can reserve the monthly resources you plan to use.
To request quota:
Account → Billing → + Request Quota
Select the resources you need
Submit your request
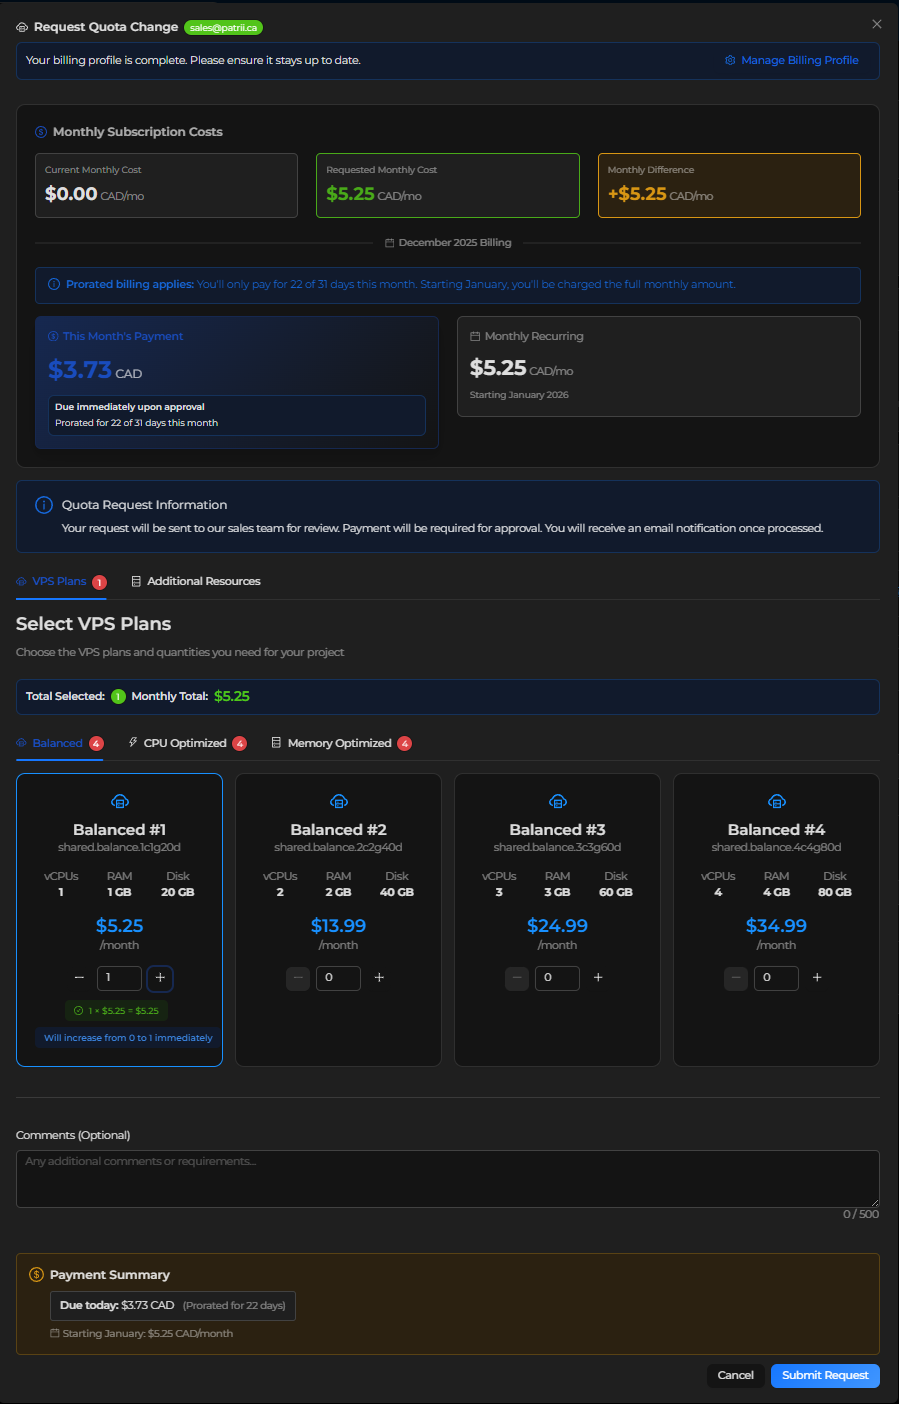
Once the payment is received, your quota is unlocked and your project becomes fully active.
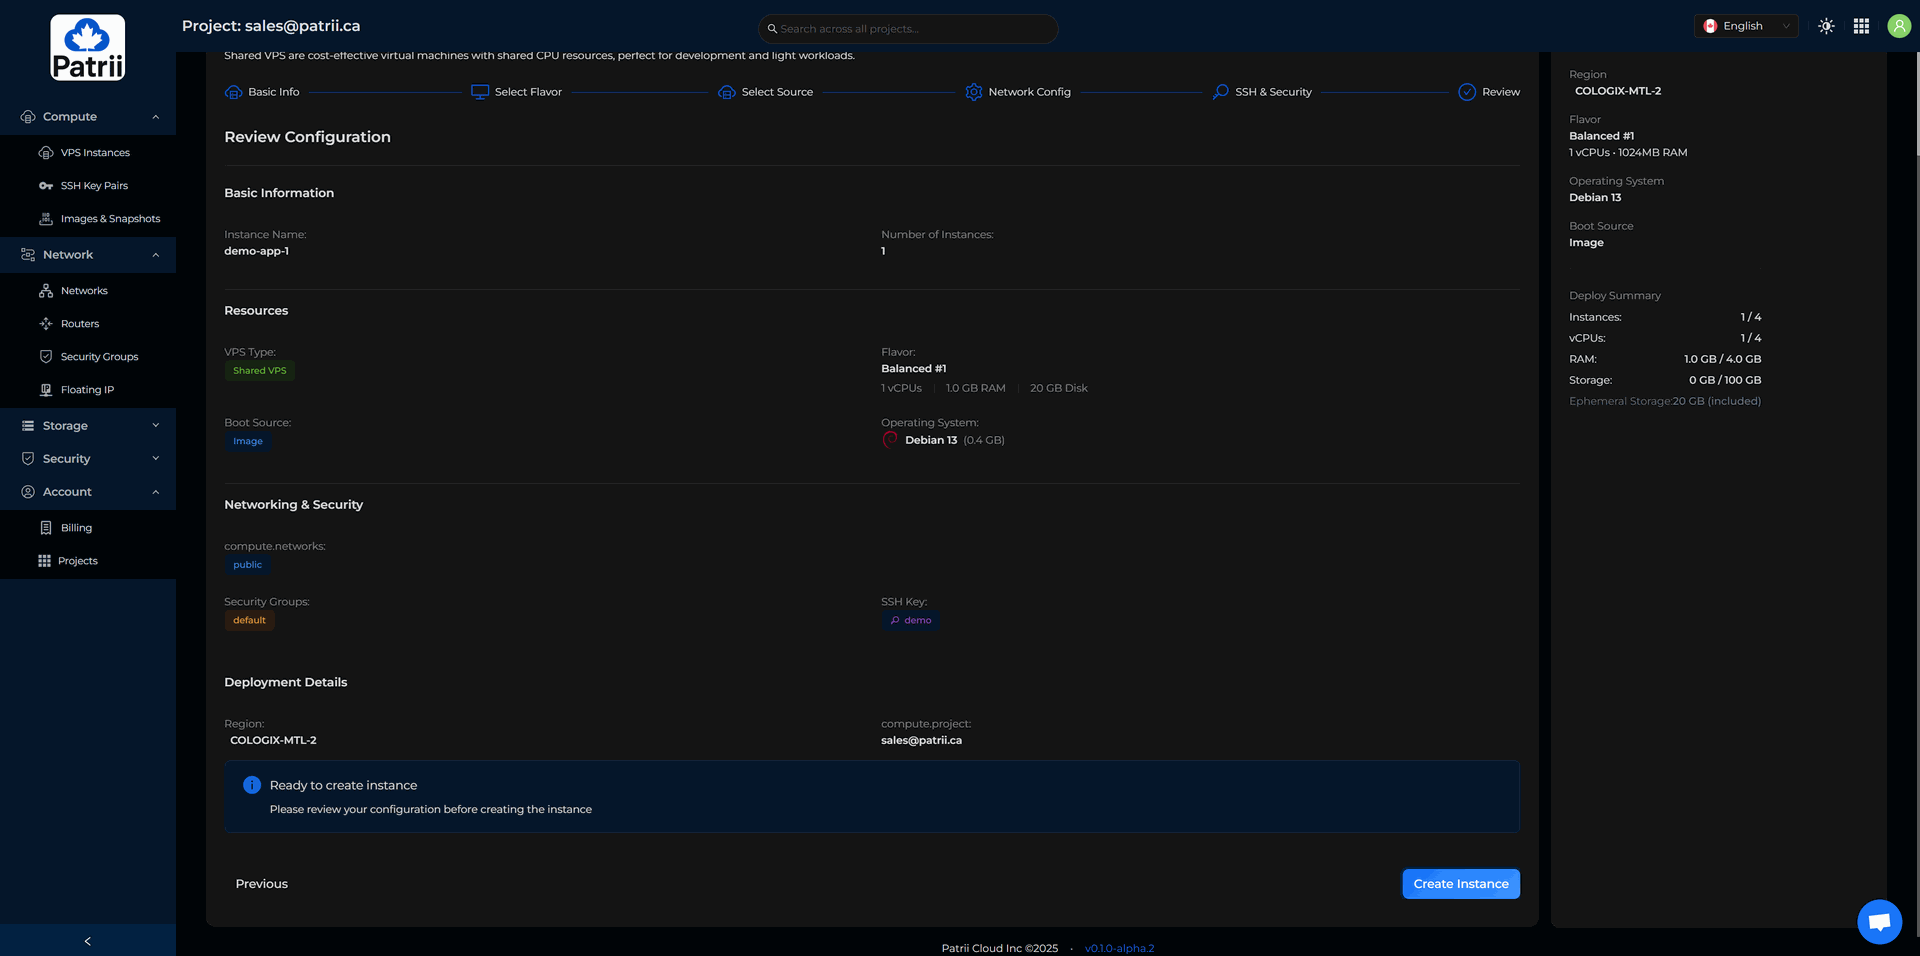
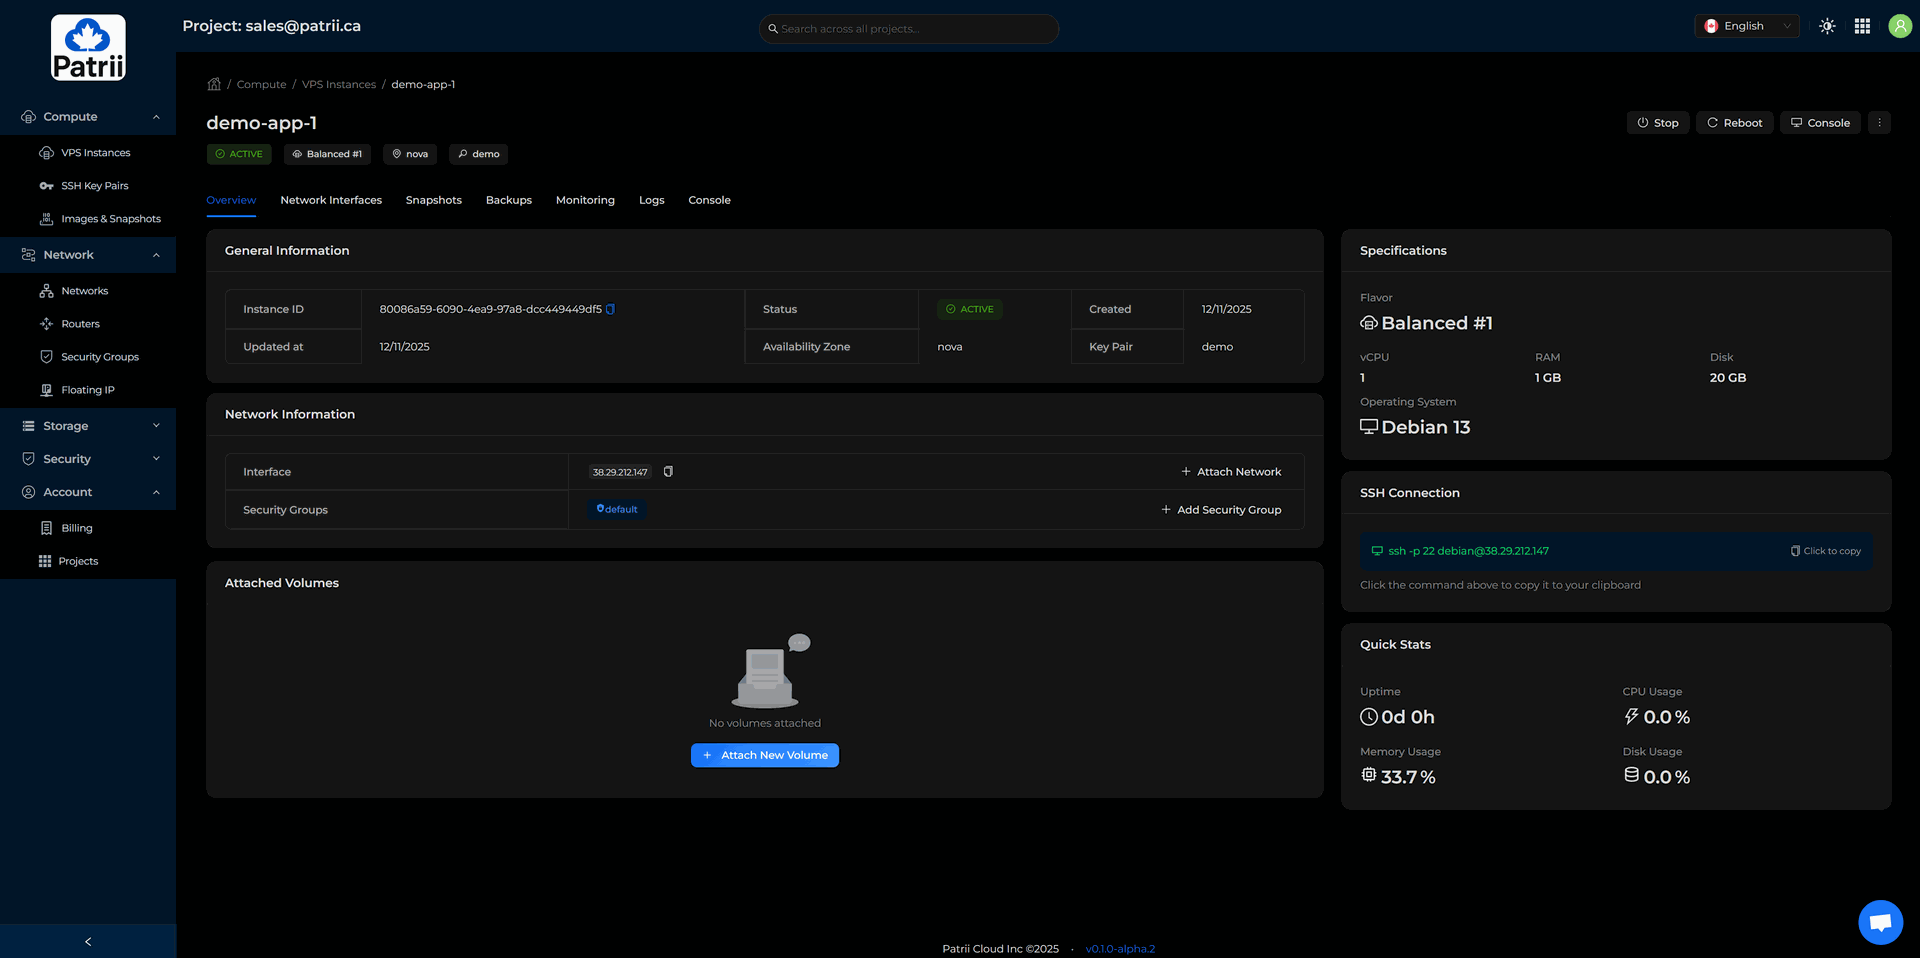
Step 5 – Launch Your First VPS
Go to Compute → VPS Instances → Create Instance → Shared VPS.
Choose a name, for example: demo-app-1.
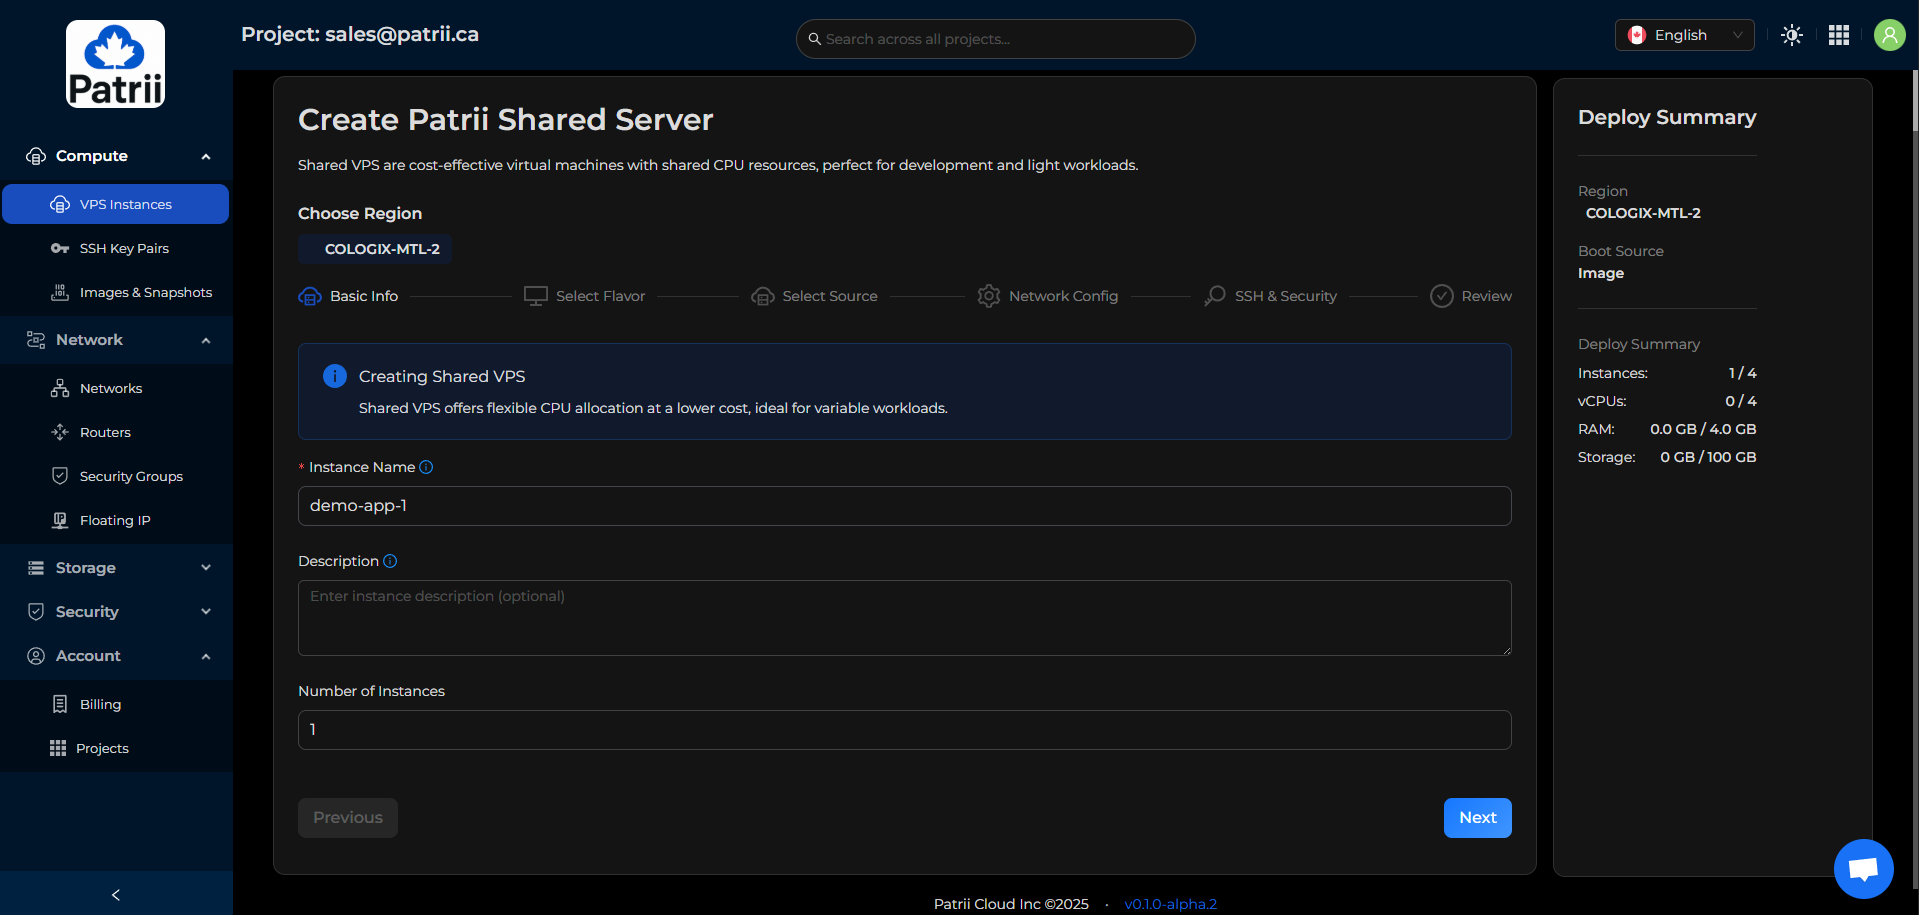
Select your Flavor
A 1 vCPU and 1 GB RAM flavor is ideal for a small app.

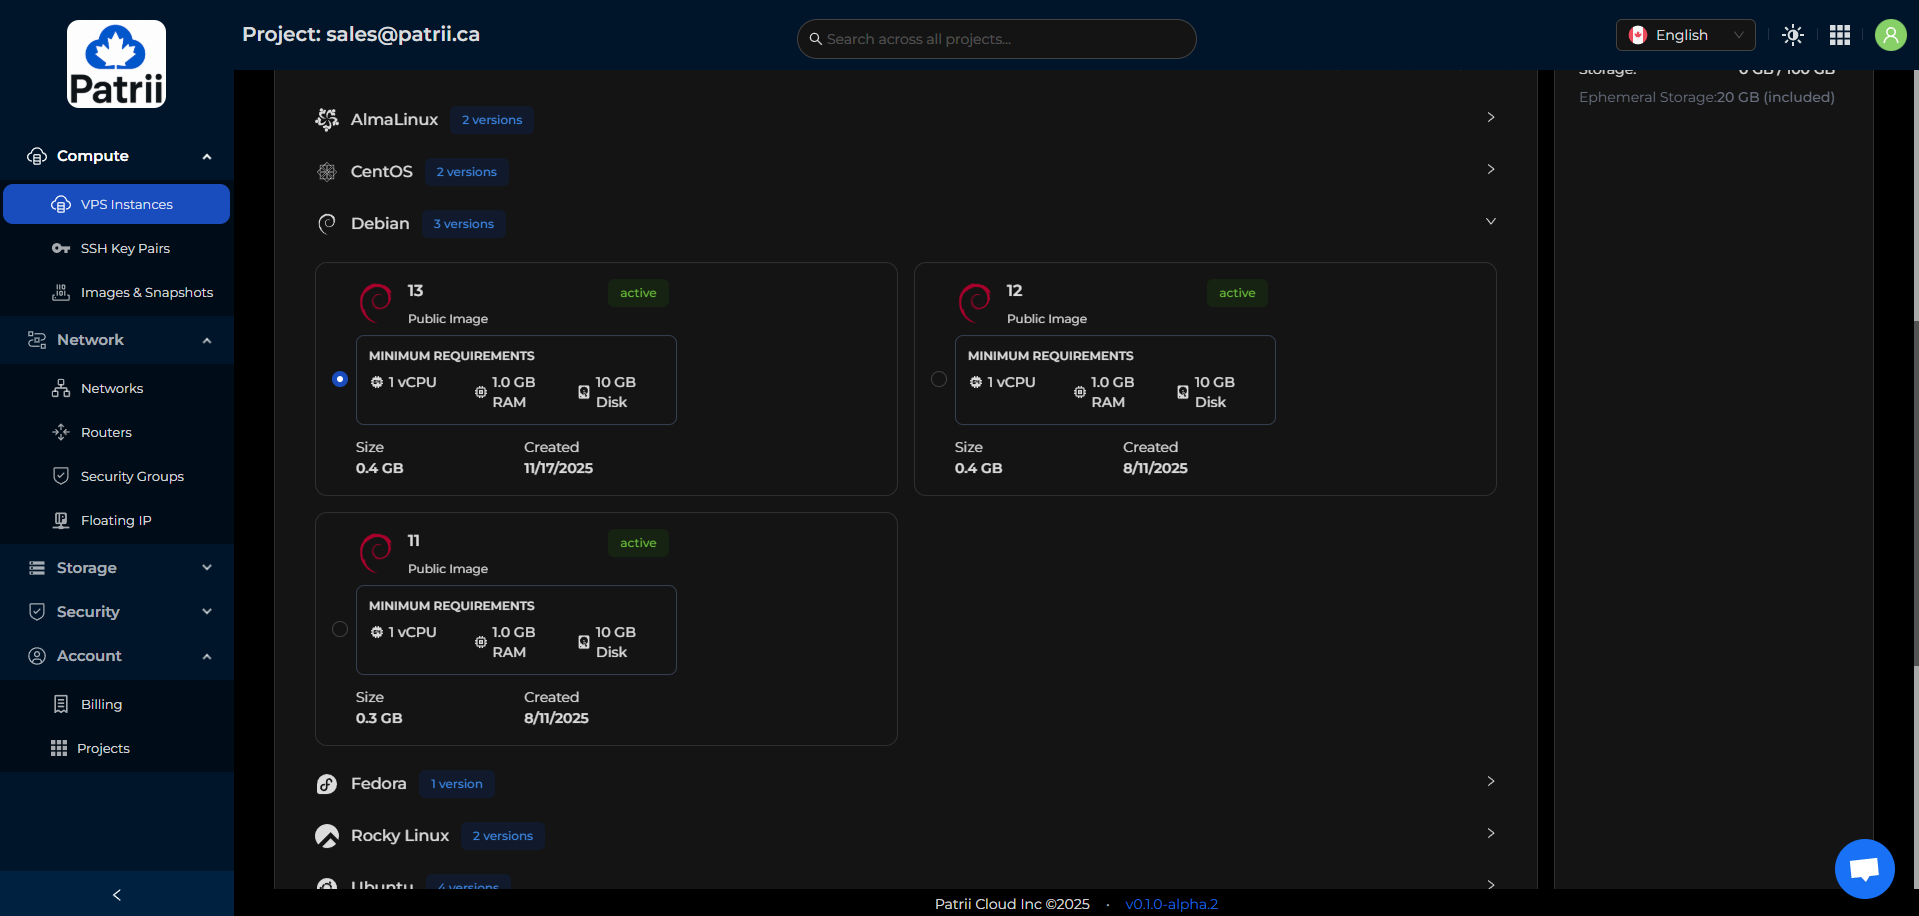
Select your OS
Ubuntu 24.04 LTS or Debian 13 are both simple and stable.
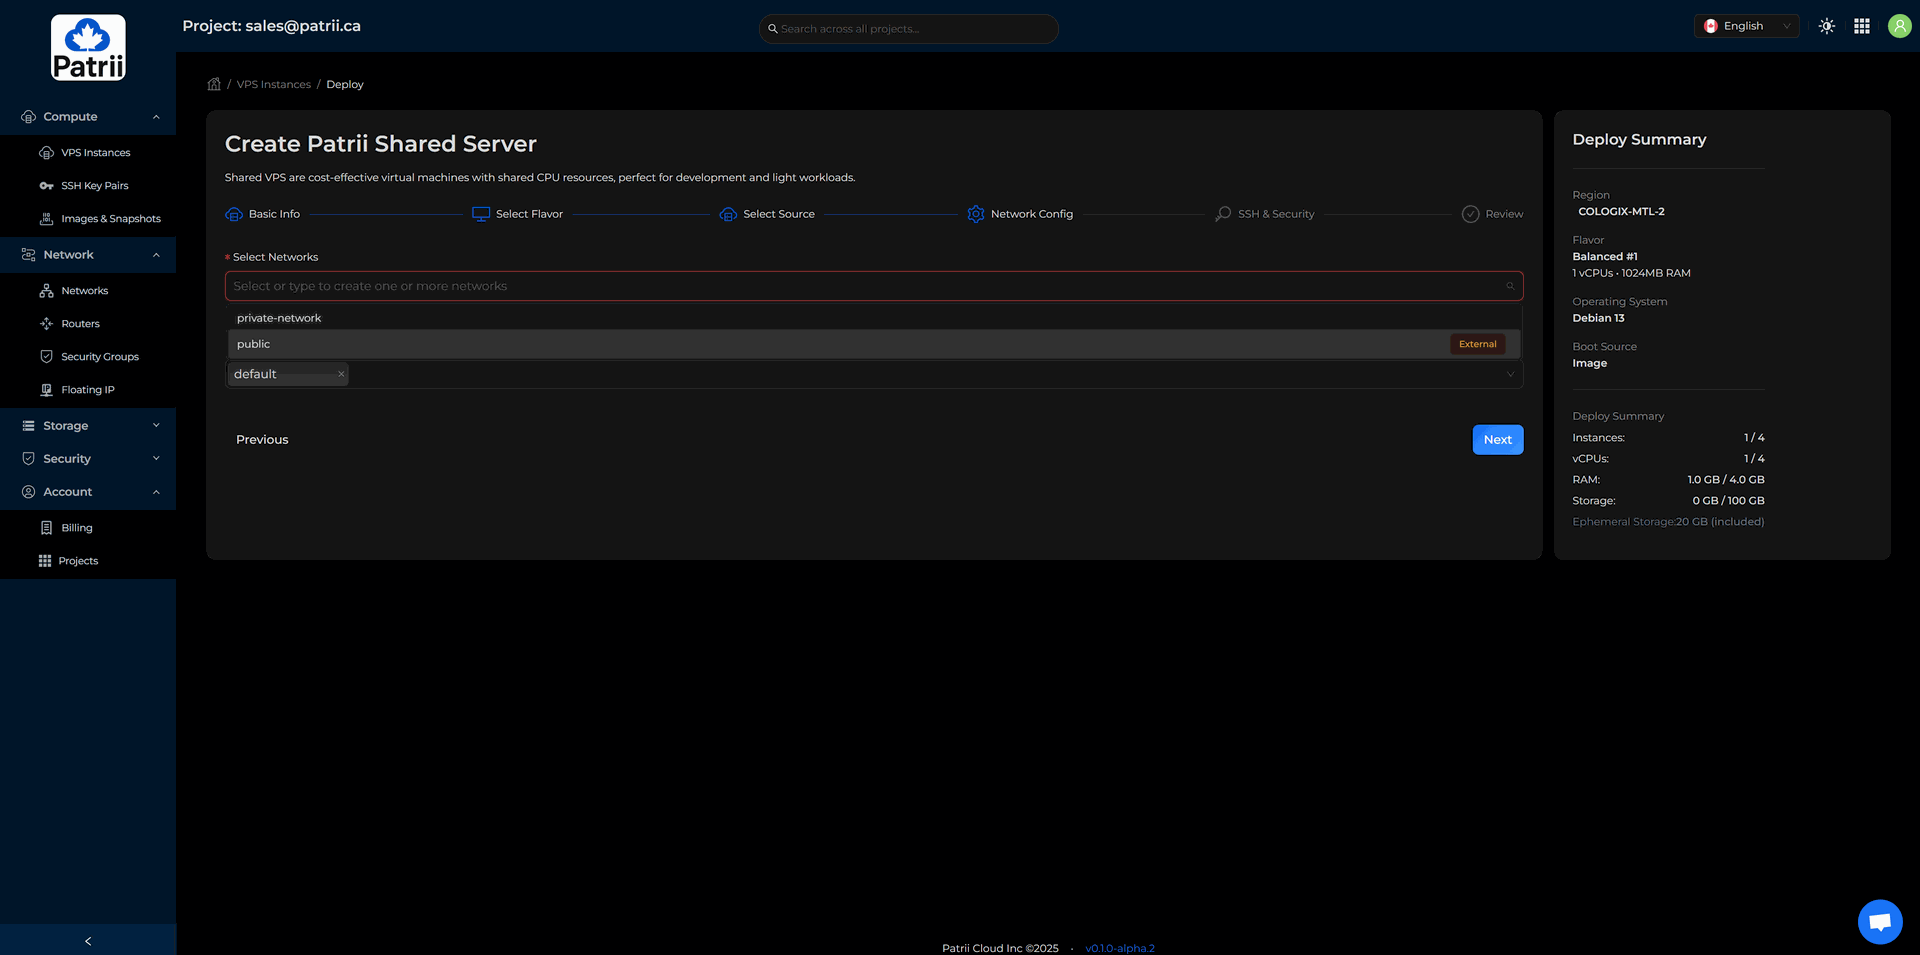
Select the Network
For this tutorial, select Public so your VPS receives a public IP address.
If you plan to deploy multiple VPS instances, a common pattern is to assign only one public IP to a gateway server. The other servers stay private and can be reached over a VPN for higher security.
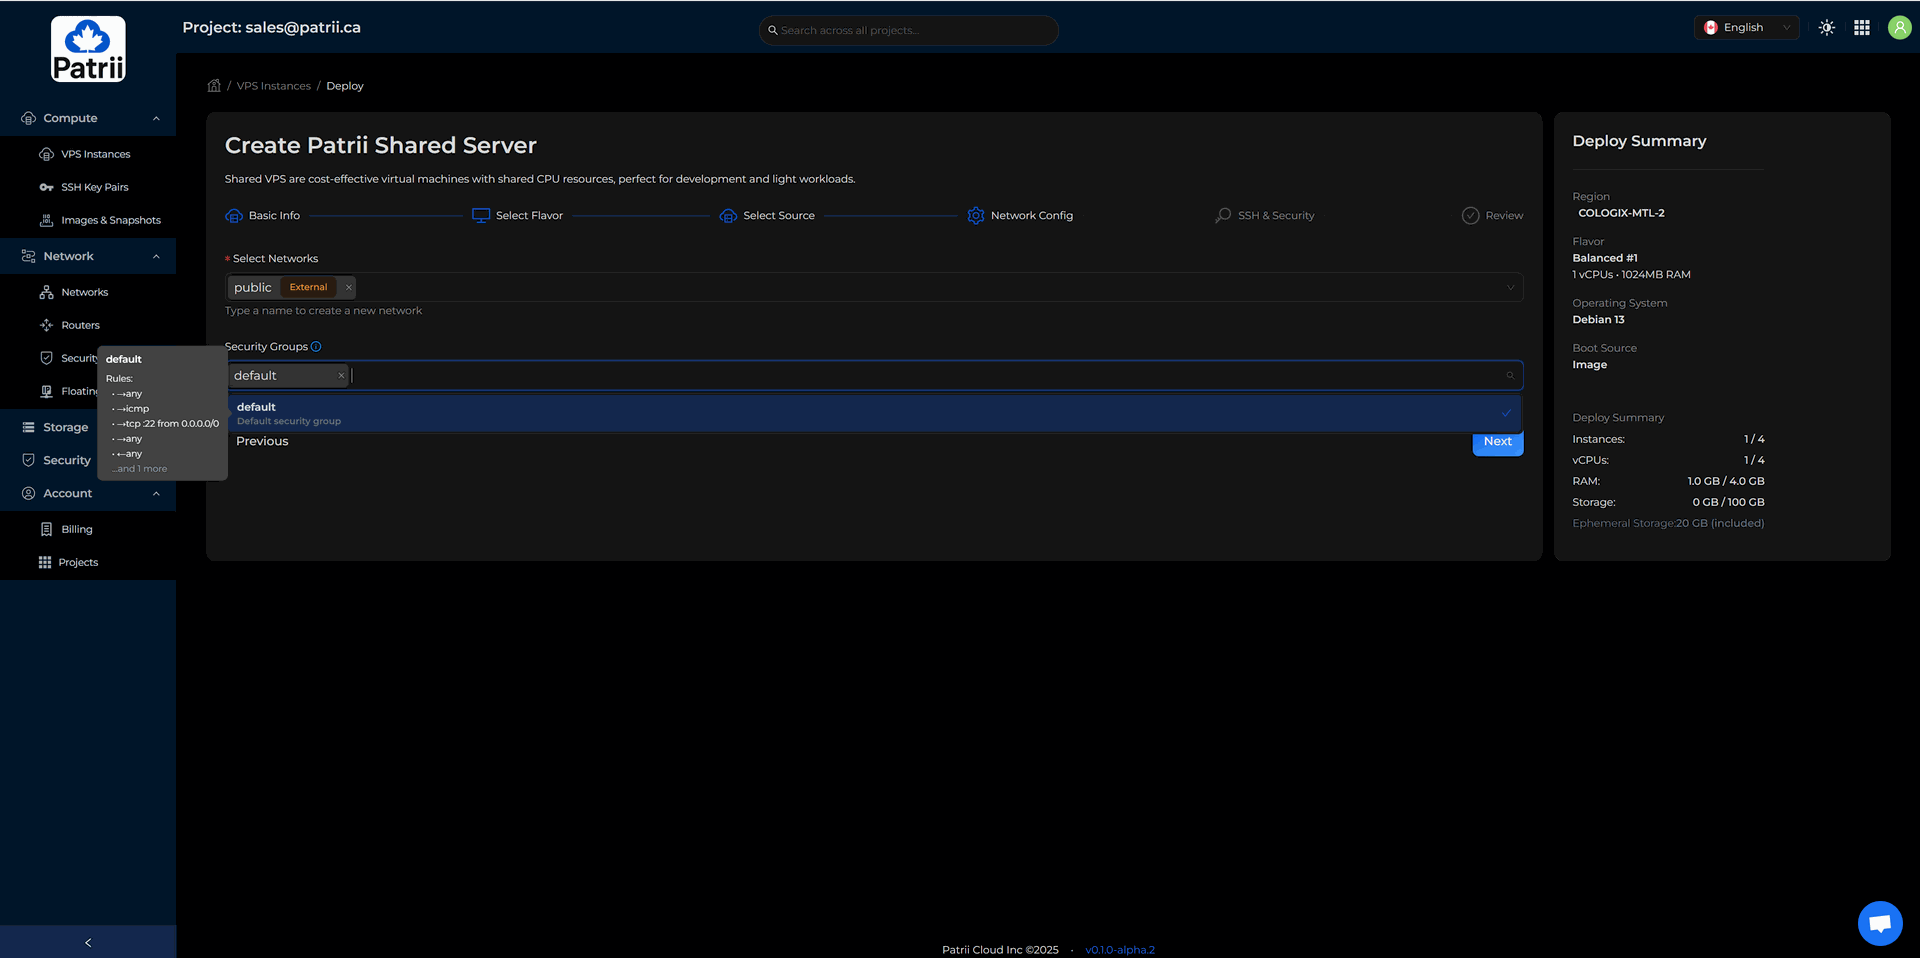
Select the Security Group
Security groups act as an application firewall in front of your instance. They filter traffic before it reaches the server.
Your default security group allows ICMP and SSH from the outside world and all outbound traffic. You can edit this group or create additional ones later.
Attach your SSH key
Select the SSH key you uploaded in Step 3.
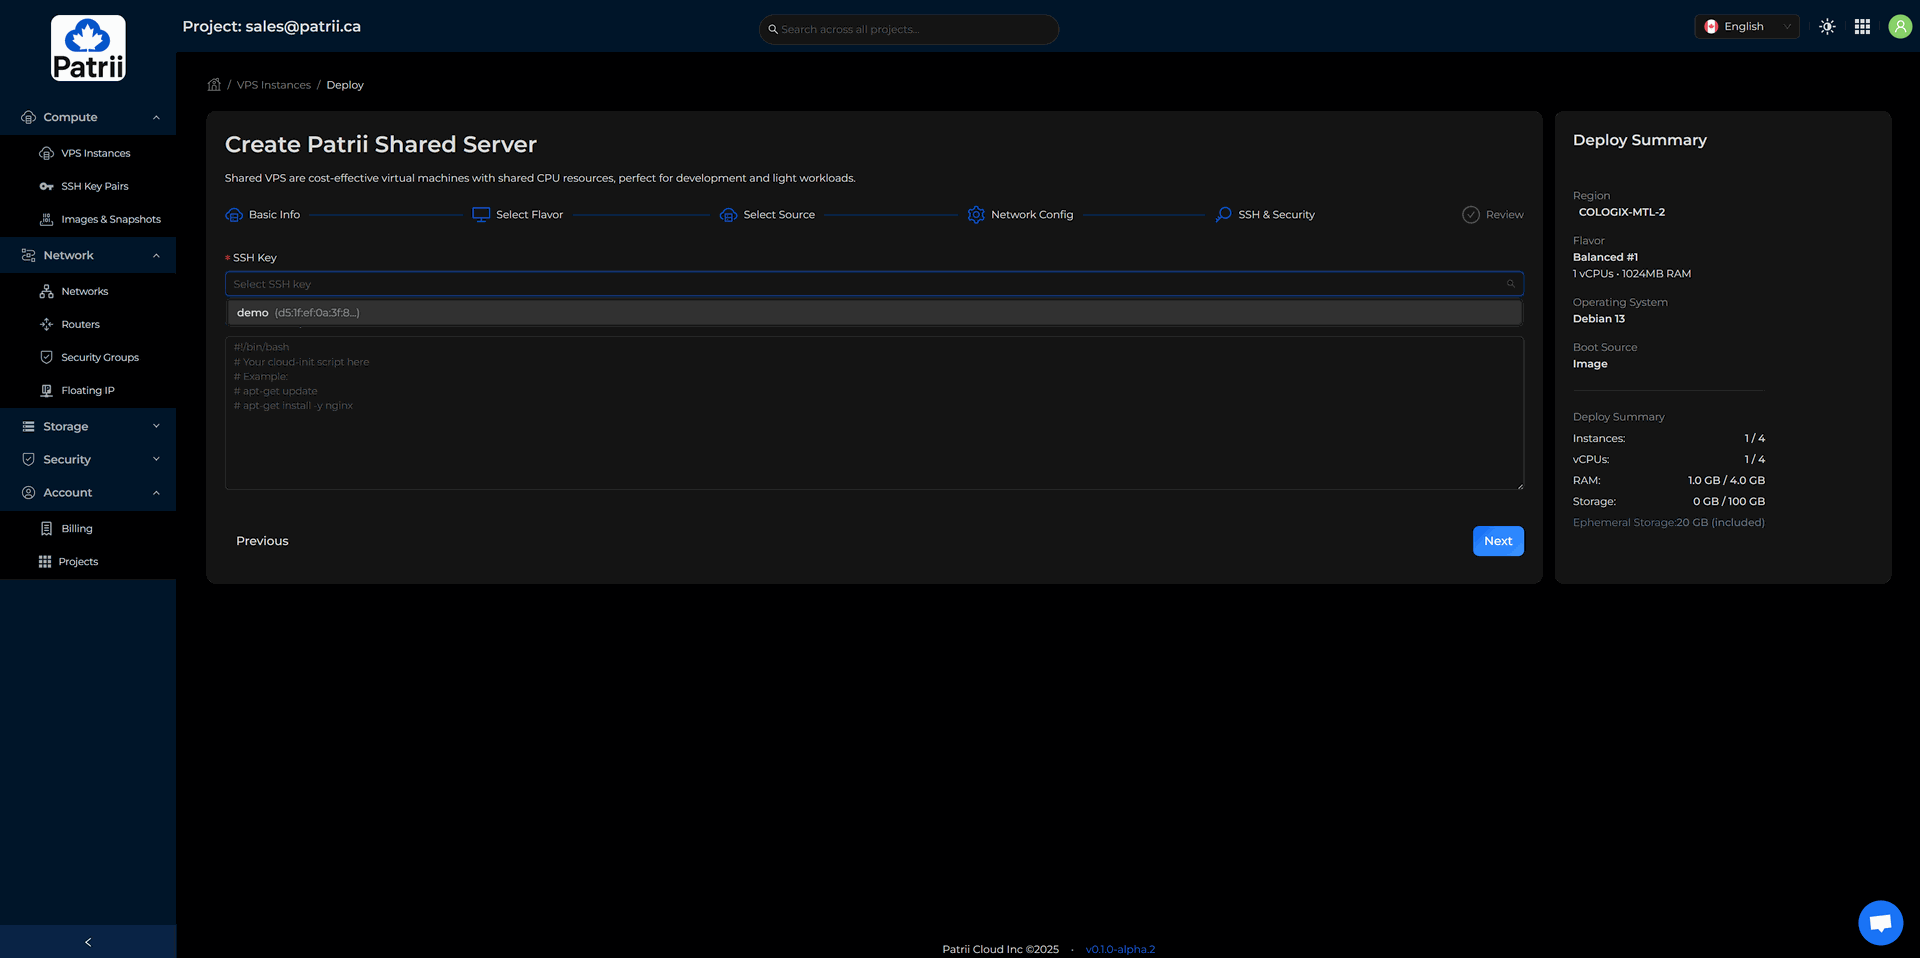
Launch your instance.
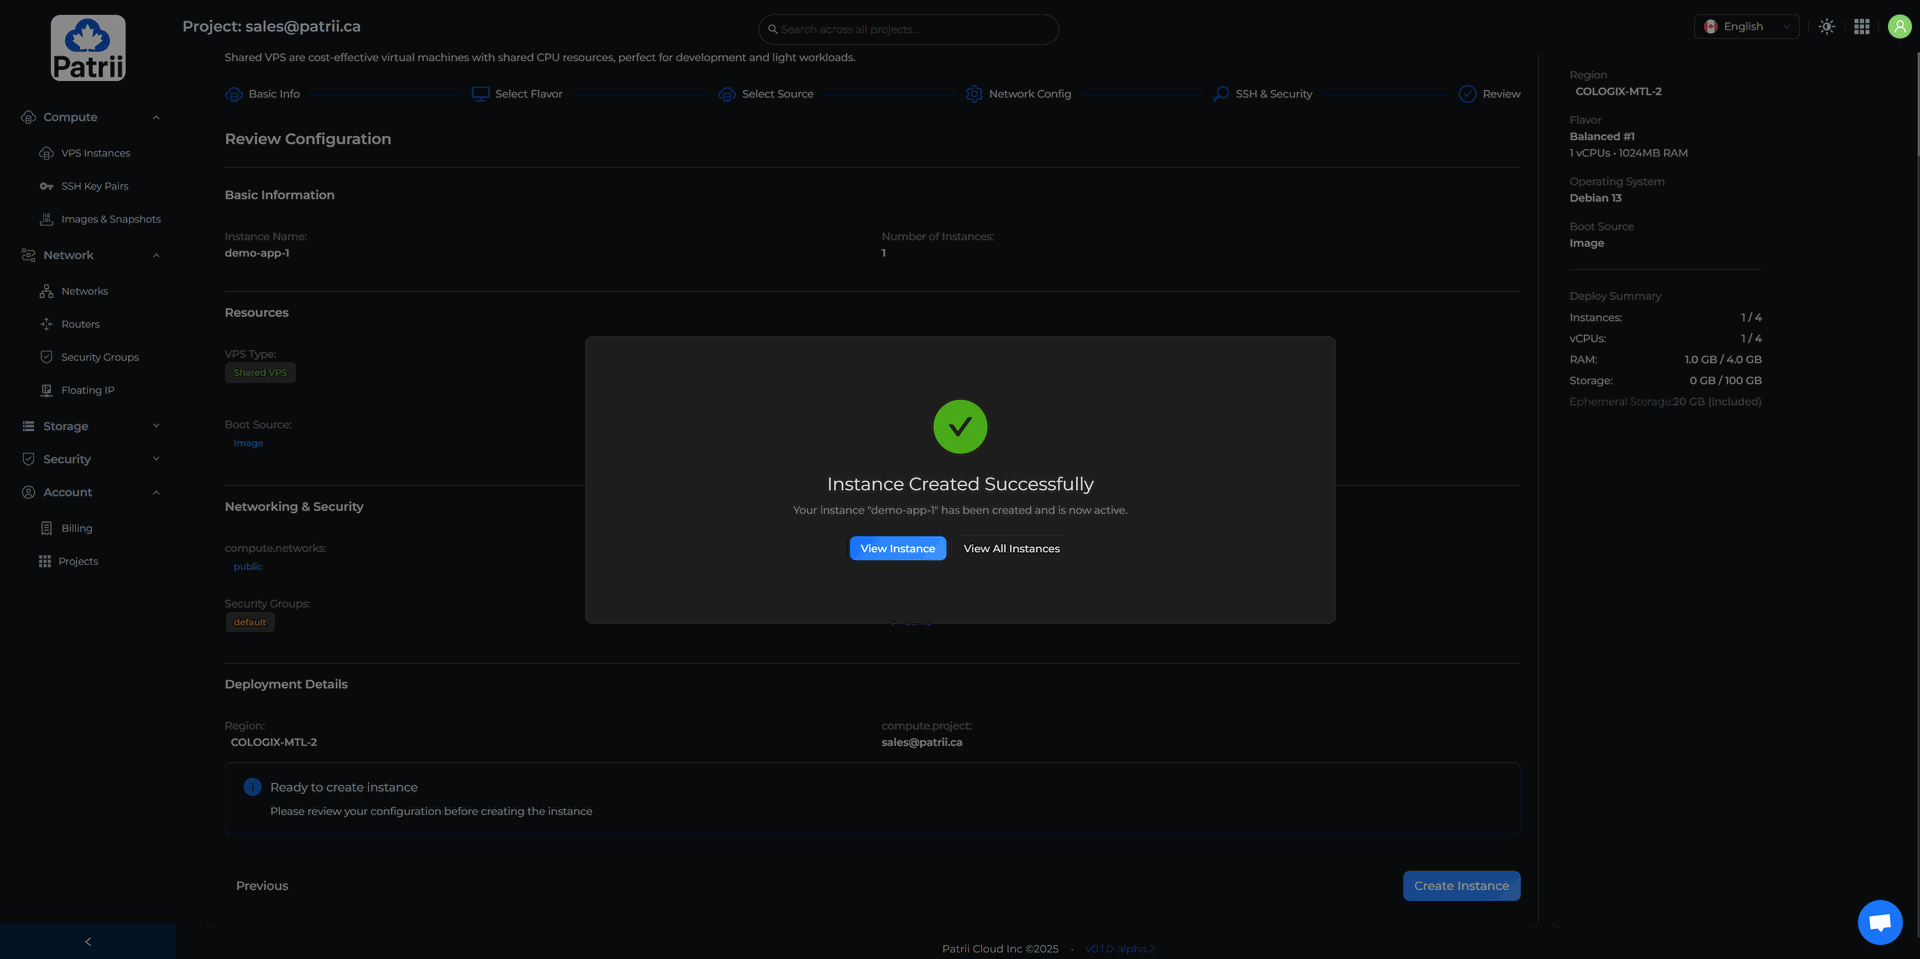
Once it becomes Active, copy the SSH command provided in the instance details. You can now connect to your sovereign VPS.
Step 6 – Configure Your Security Group
Unlike many VPS providers, you do not need to install or manage a firewall inside your server.
Patrii Cloud manages your perimeter firewall directly through Security Groups. This prevents lockouts and centralizes security.
To configure your rules:
Network → Security Groups → Actions → Manage Rules
Add the ports you strictly need. For example:
- TCP 80 for HTTP
- TCP 443 for HTTPS
- TCP 3000 for your API
For SSH access, limit the allowed source to your own IP. You can find your IP at https://whatismyipaddress.ca/.
Remove any rules you do not need. Changes apply instantly.

Step 7 – Deploy a Simple App
Your VPS is now ready to host any service you want. Here are two quick deployment examples.
Option A: Serve a static website with nginx
Install nginx:
sudo apt install -y nginx
Edit your homepage:
sudo nano /var/www/html/index.html
Add:
Hello from Patrii Cloud
Restart nginx:
sudo systemctl restart nginx
Visit:
http://YOUR_PUBLIC_IP
If port 80 is allowed, your page loads.
Option B: Run a small API with Node.js
Install Node.js:
sudo apt install -y nodejs npm
Create a folder:
mkdir ~/demo-api
cd ~/demo-api
Install Express:
npm init -y
npm install express
Create the API:
nano index.js
Add:
const express = require("express") const app = express()
const port = 3000
app.get("/", (req, res) => { res.json({ message: "Hello from Patrii Cloud" })
})app.listen(port, () => { console.log("API running on port " + port) })
Start it:
node index.js
Make sure TCP 3000 is open in your security group.
Step 8 – Add Storage and Snapshots
Block storage
To add additional storage to your VPS:
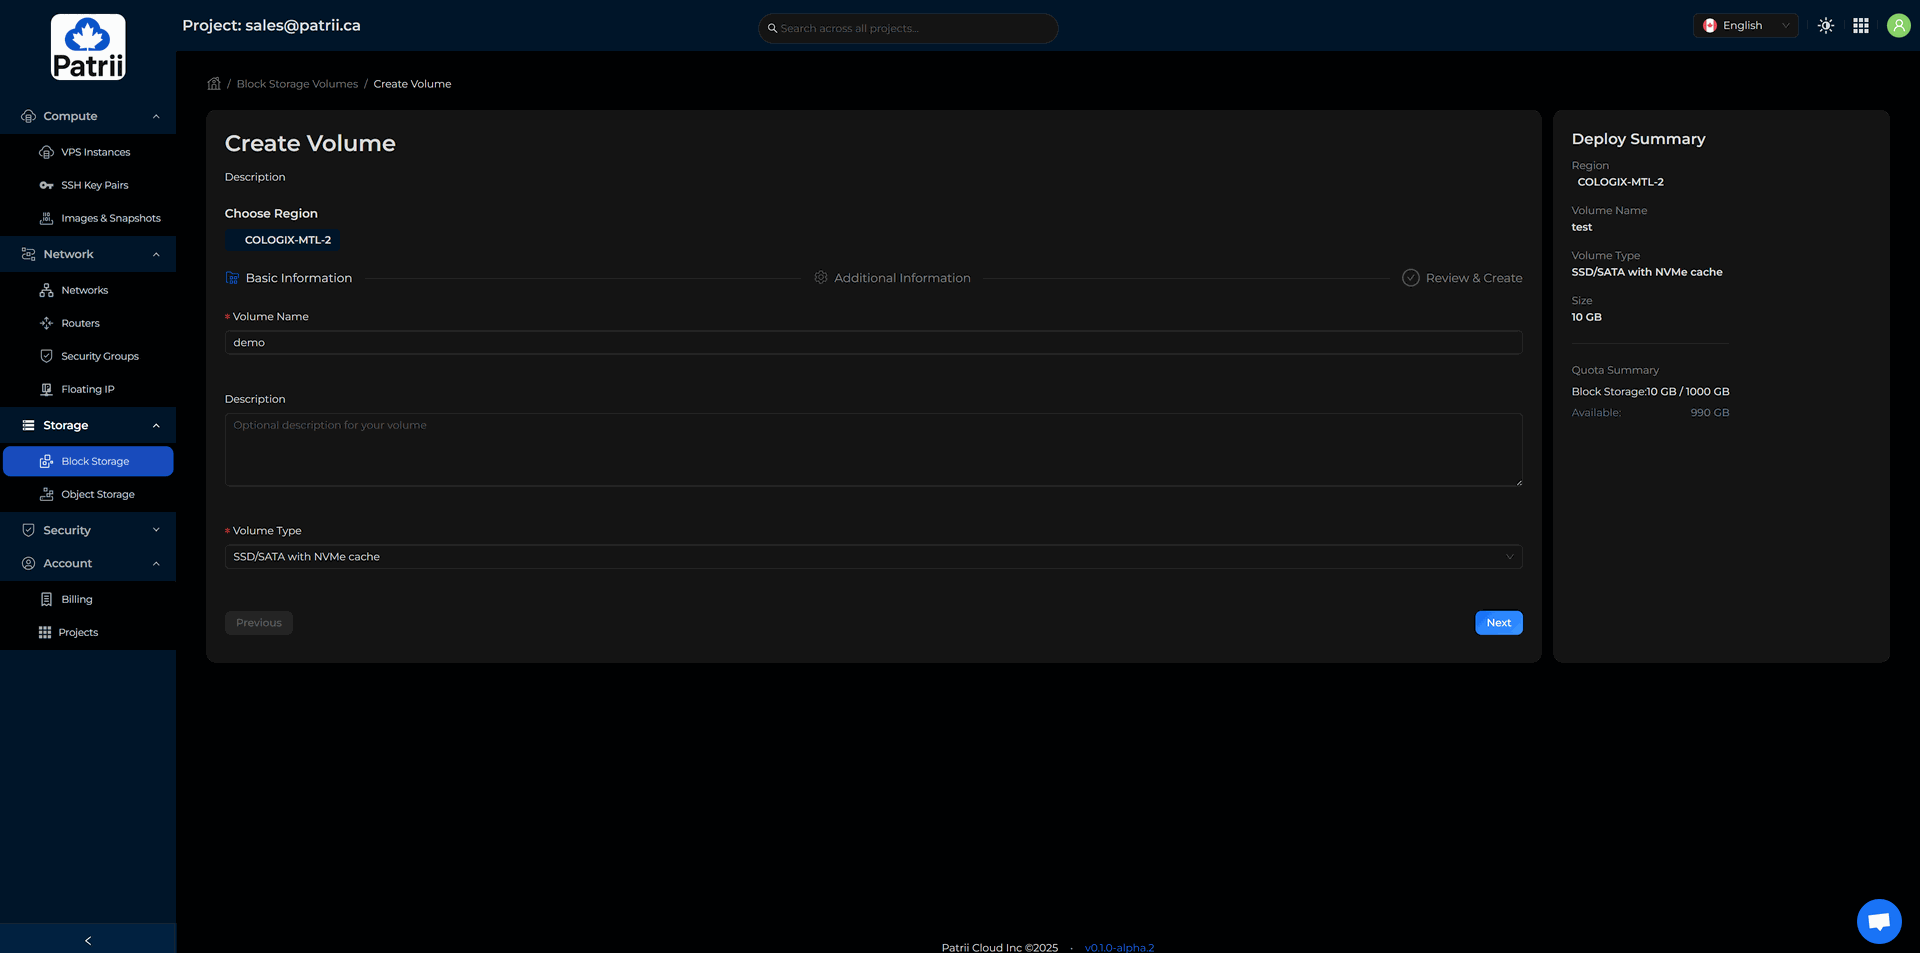
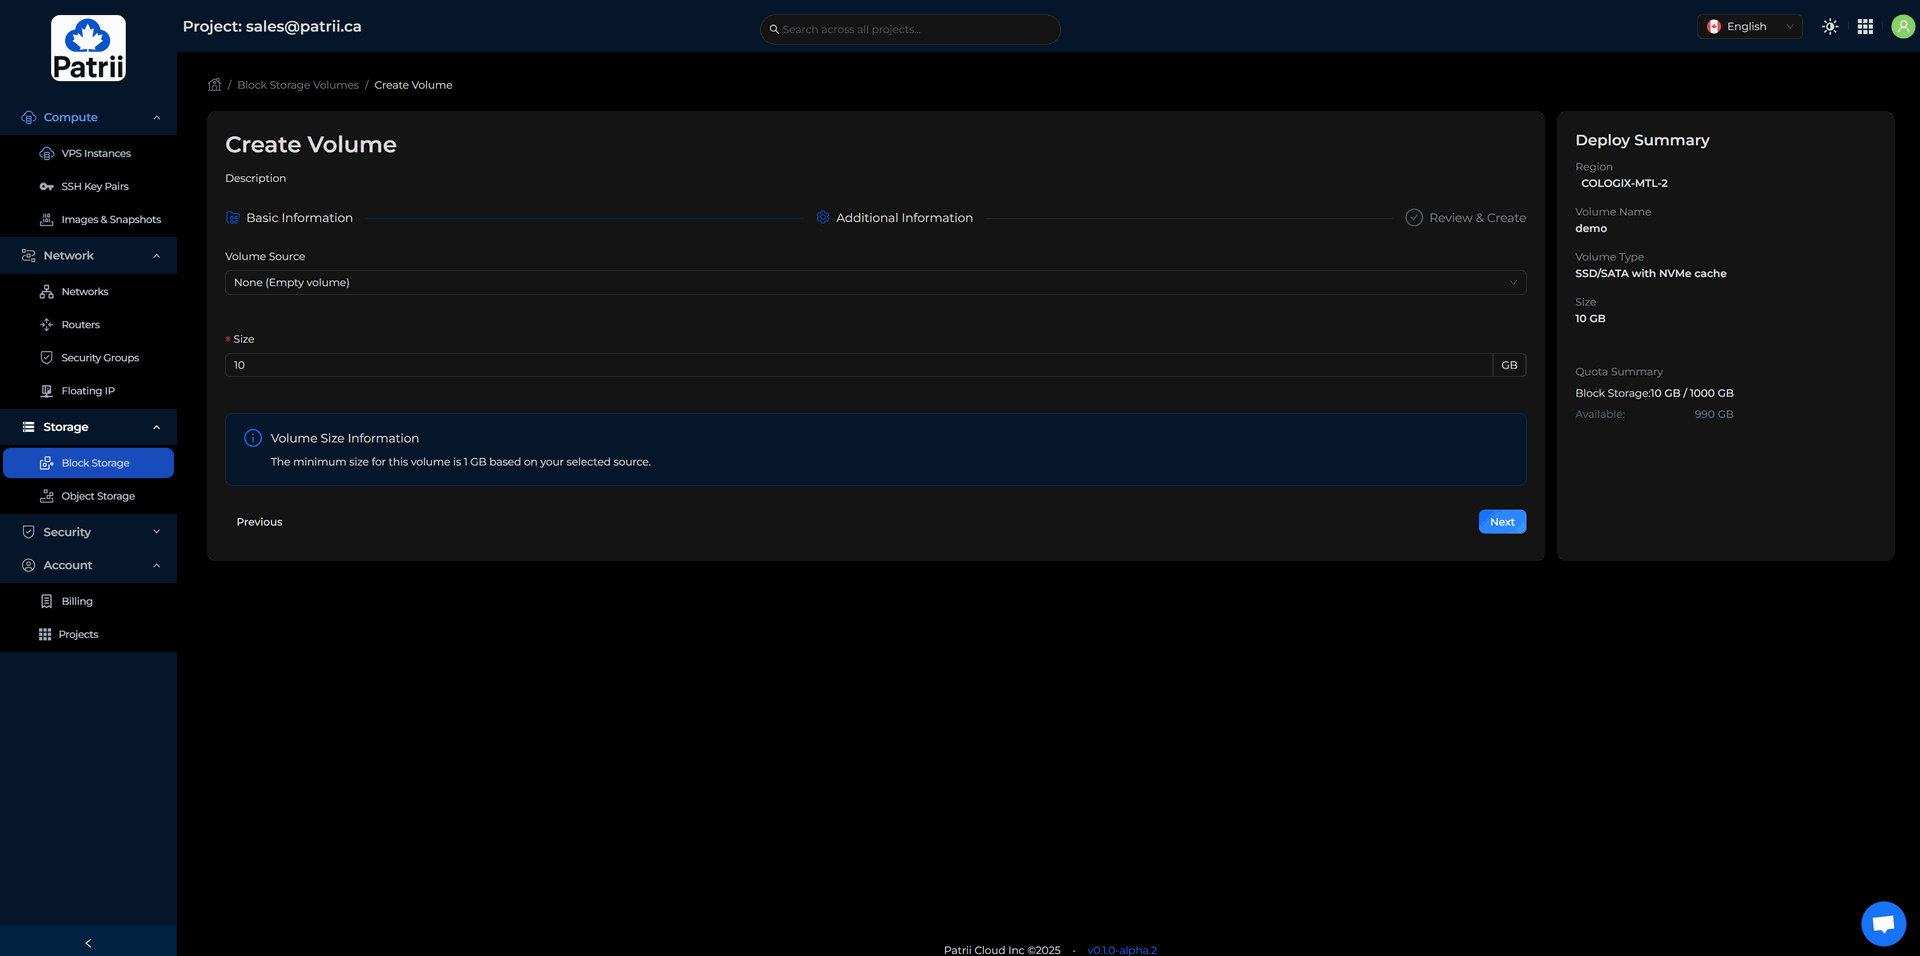
Storage → Block Storage → Create Volume
Fill in the required information, choose the size you want, then click Create Volume.
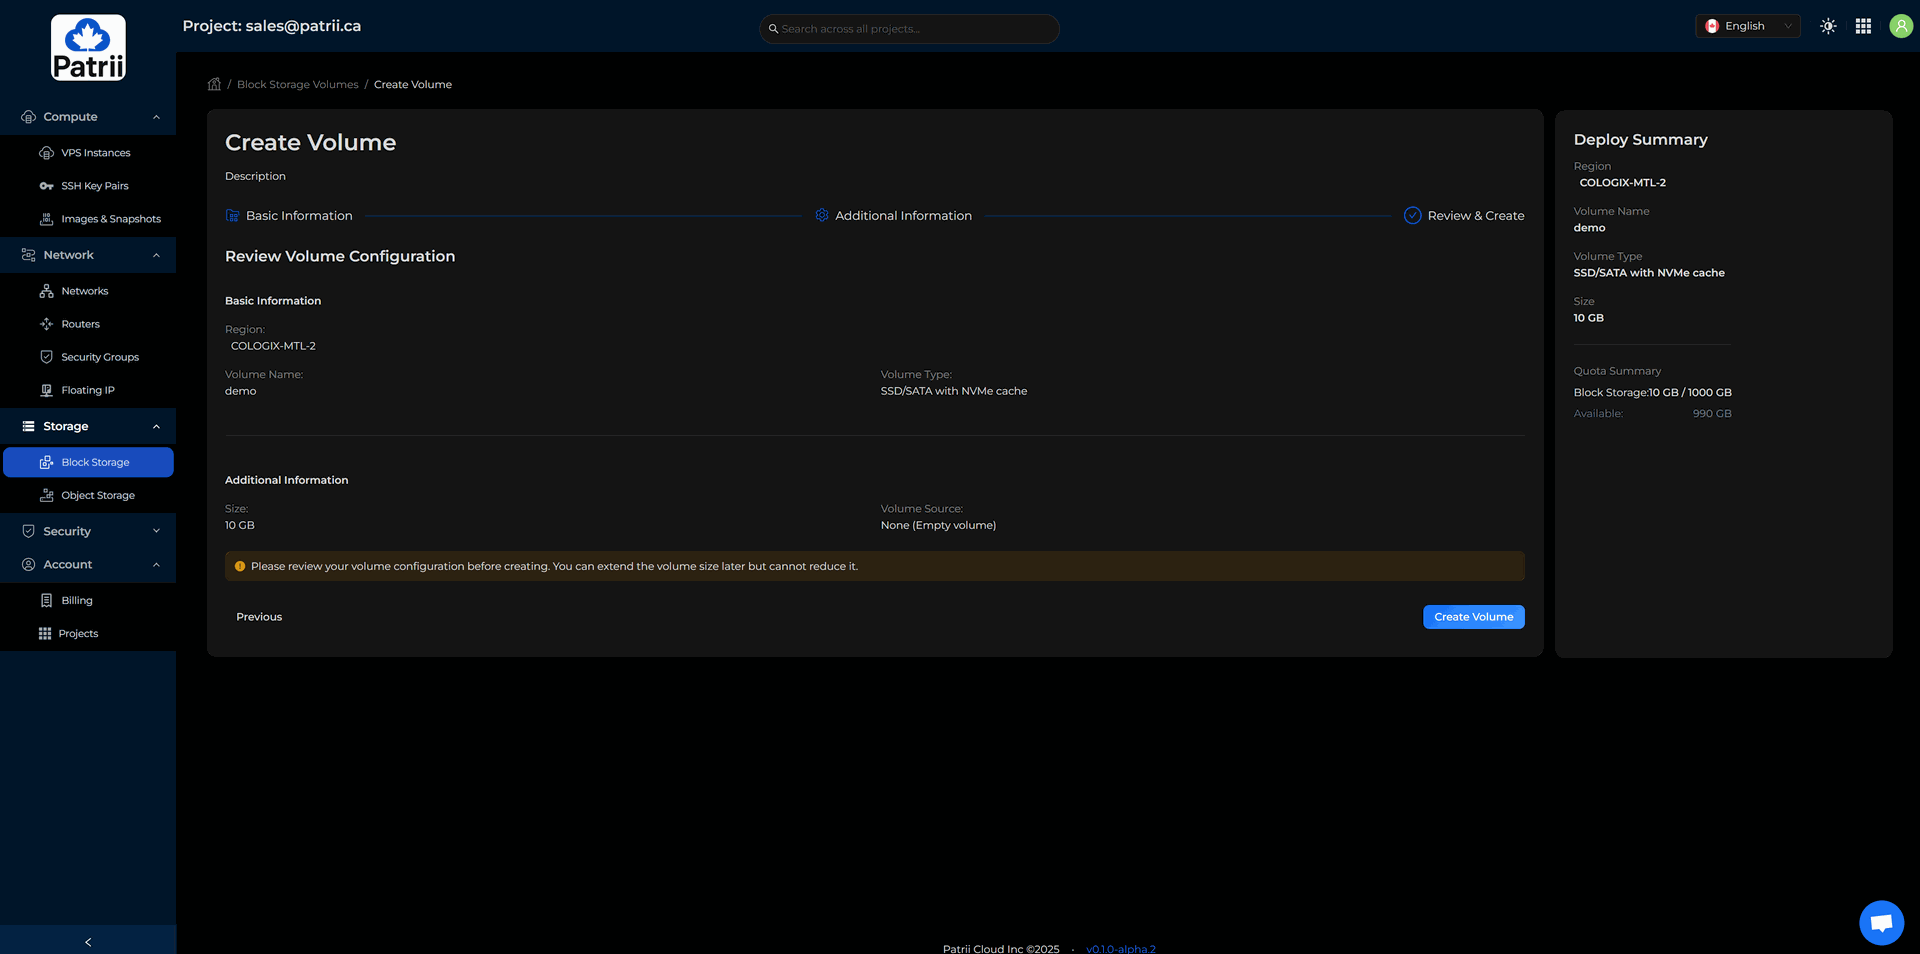
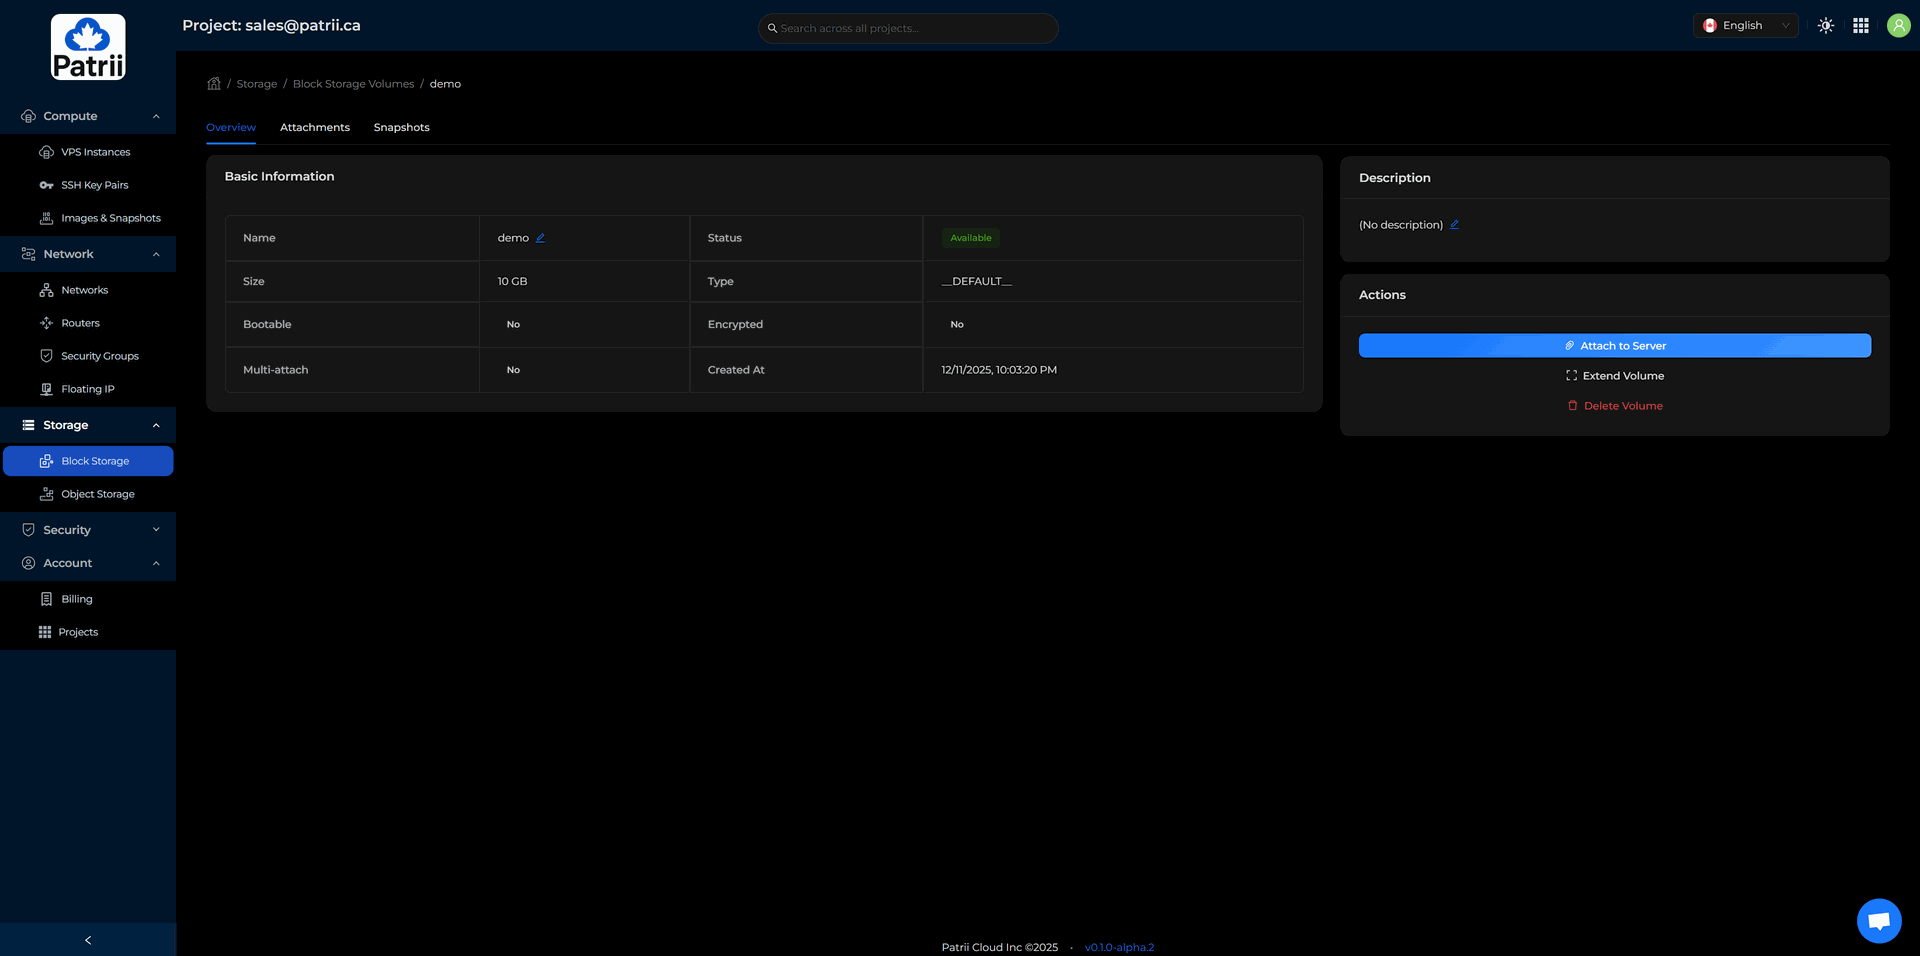
Once your volume is created:
- Click on the volume
- Open the Actions menu
- Select View Details
- Click Attach to Server and choose your instance
Your volume is now attached but not yet formatted.
Format and Mount the Volume
Run the following commands inside your VPS:
lsblk
sudo mkfs.ext4 /dev/vdb
sudo mkdir /data
sudo mount /dev/vdb /data
Your new storage is now ready to use.
Snapshots
Snapshots are one-click point-in-time backups of your VPS. They are useful before updates, deployments, or configuration changes.
To create a snapshot:
Compute → VPS Instances → Select your instance → Snapshots
You can schedule snapshots or create them manually at any time.

Snapshots can be downloaded from:
Compute → Images & Snapshots → My Snapshots
Step 9 – What You Can Build Next
You now have a complete environment to deploy real applications on a Canadian sovereign cloud. Here are ideas for your next steps:
-
A SaaS prototype hosted entirely in Canada
- A personal homelab in the cloud
- A game or voice server
- A business website
- A CI runner or automation server
- A database with an API
- A dev, test, staging or production environment
- A learning lab for Linux or DevOps
If it runs on a VPS, it runs on Patrii Cloud. The difference is simple. Your data stays in Canada, managed by a fully Canadian team, on an open and transparent platform.
We would love to see what you're building.
The Patrii Cloud Team